
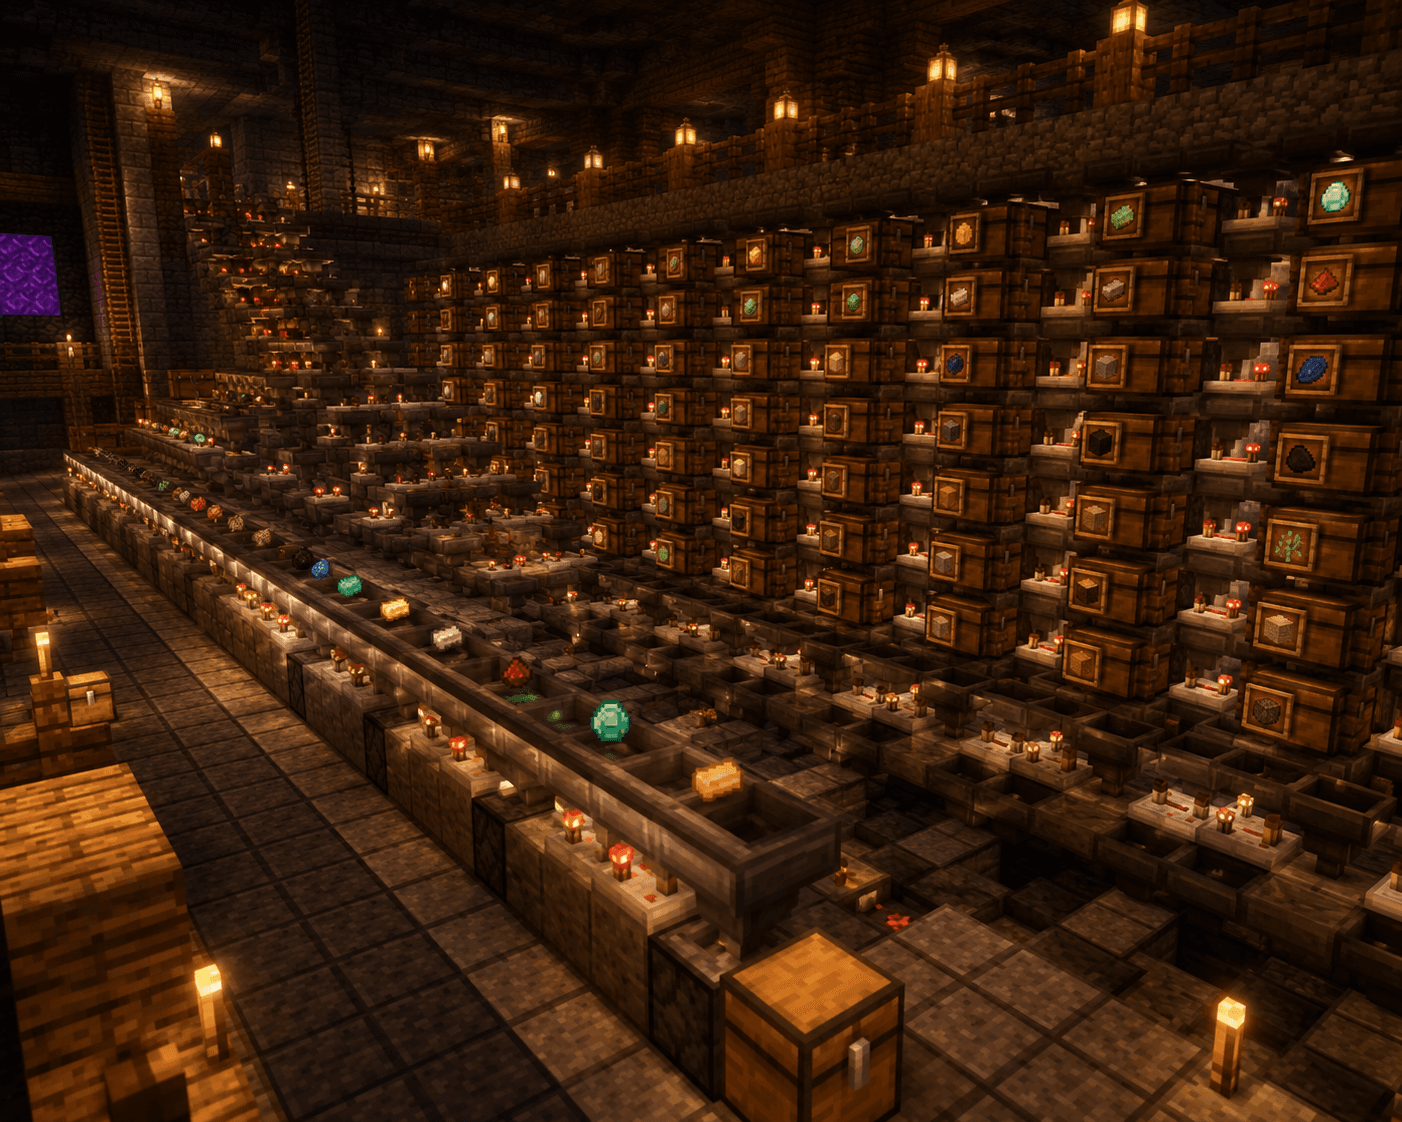

An automatic item sorter is one of the most useful redstone builds you can add to a Minecraft base. Instead of manually sorting your inventory into labeled chests, a sorter does it automatically — every item drops into its correct chest without you touching anything. This guide walks you through building a reliable multi-channel sorter that works in Minecraft 1.21.
How Item Sorters Work
Item sorters use a combination of hoppers and comparators to identify and route items. Here is the basic logic:
- Items enter a main input hopper chain
- Each sorting channel has a filter chest containing one specific item type (like 41 diamonds plus 4 filler items totaling 42 slots)
- A comparator reads the filter chest — if the chest is "full enough," it does not trigger; but when the filtered item enters and fills one slot, the comparator signal changes
- A locked hopper uses a comparator signal to stop or allow item flow
- Matching items fall into their assigned chest; non-matching items pass through to the next channel
This design works because Minecraft comparators measure the fullness of a container. A carefully tuned filter chest full of dummy items (like named items that cannot stack) will only allow the desired item through.
The Filter Chest Method
The most reliable sorting method uses named items as filler:
Each filter chest contains:
- 4 slots filled with items that cannot stack (named items using a Name Tag and Anvil — name them anything)
- 1 slot with a single sample of the item you want to sort
- The remaining slot stays empty — this is where matching items enter
When your target item arrives, it fills that one open slot, completing the chest and triggering the comparator output. The item then drops into the sorted output chest below.
Materials for a 5-Channel Sorter
Scale these up or down per channel needed:
- Hoppers — 5 per channel (approximately 25 total for 5 channels)
- Chests — 2 per channel (filter chest + output chest) plus 2 for the overflow chest
- Comparators — 1 per channel (5 total)
- Redstone Dust — 1-2 per channel
- Repeaters — 1 per channel
- Redstone Torches — 2 per channel
- Building blocks — glass, slabs, or any solid block for the frame
- Name Tags — 20 (4 per channel for filler items)
- Anvil — to name the filler items
- Items to sort — the actual items you want each channel to filter
Step-by-Step Build
Step 1: The Input Hopper Line
- Place a Dropper or Hopper at the top of your input column — this is where you dump unsorted items
- Run a horizontal hopper chain at the top level, connecting each hopper to the next (shift-click to attach hoppers to each other, not to blocks)
- Make the chain as long as you have sorting channels — one hopper per channel
This is your main transport line. Every item flows through it left to right (or right to left) until it hits its matching channel and drops out.
Step 2: Build the First Sorting Channel
For each channel, repeat this structure:
- Below the transport hopper, place a downward-facing hopper pointing into a Chest (the output chest)
- Beside the transport hopper, place a Filter Chest (a regular chest)
- Connect the Filter Chest to the transport hopper by running a hopper from the Filter Chest into the transport hopper — this is the filter connection
- Place a Comparator reading out of the Filter Chest, facing away from it
- Connect the comparator output to a Redstone Torch on the side of the transport hopper — when the filter chest signals "full," the torch turns off, locking the transport hopper open to release the matched item
Step 3: Fill the Filter Chests
For each filter chest:
- Open the chest
- Place named (non-stacking) items in 4 slots — name each item differently using the anvil (e.g., "A", "B", "C", "D") so they do not stack together
- Place 1 item of the type you want sorted in the 5th slot
- Leave the remaining slot empty
The chest should look like: [NamedA][NamedB][NamedC][NamedD][YourItem][ empty ][ ... ]
The empty slot is where matching items will temporarily land before triggering the comparator.
Step 4: Lock the Transport Hoppers
This is the key step that makes the sort happen:
- Run a Redstone signal from each comparator through a repeater (set to 2 ticks) to a Redstone Torch on the side of the transport hopper
- By default, the torch should be powered (hopper locked = items cannot exit the transport line)
- When the filter chest detects its item, the comparator fires → torch turns off → hopper unlocks → item drops into the channel
Test with one channel fully before building the rest.
Step 5: Add the Overflow Chest
At the end of your transport hopper line, add a final hopper pointing into a Double Chest. This catches any unsorted items — things that did not match any filter channel. Without this, unsorted items loop forever.
Step 6: Repeat for Each Channel
Build each additional channel the same way, offset by 2 blocks to the side. Items that do not match channel 1 flow to channel 2, then channel 3, and so on.
Wiring Tips
- Repeater delays prevent signal feedback. If your sorter seems to have items skipping channels or getting stuck, increase the repeater delay to 3-4 ticks on affected channels
- Glass between hoppers and comparators prevents the comparator from accidentally reading the wrong container — solid blocks can sometimes create unintended Redstone connections
- Label your output chests with Item Frames showing the sorted item — makes the system immediately readable
Compact vs. Expandable Layouts
Compact layout: All channels run side-by-side in a single row. Fast to build, good for 3-8 channels. Harder to expand later.
Expandable layout: Each channel is a self-contained module you can clone and attach. Slower to set up initially but you can add new sorted items anytime by attaching a new module to the end.
For a base storage room, the expandable layout is almost always worth the extra setup time.
Common Mistakes to Avoid
- Not naming the filler items. Unnamed items can stack with each other and with the sorted item, breaking the filter ratio. Every filler item must be uniquely named so they cannot stack.
- Hoppers facing the wrong direction. Double-check every hopper direction before wiring. A hopper facing into a wall instead of a chest will silently swallow items.
- Skipping the overflow chest. Without overflow, unsorted items circle the input line forever and eventually break the timing of the whole system.
- Using stackable items as filler. If you accidentally use two filler items of the same type, they stack and free up a slot, letting wrong items trigger the comparator.
- Building the comparator backwards. The comparator's front (the three-dot side) must face away from the filter chest.
Pro Tips
- Sort your most common items first (early channels) so they exit quickly and reduce load on the system
- Use a hopper minecart under your output chests for automatic collection into a central barrel — works great for farms feeding directly into the sorter
- Add a water stream above the input hopper to funnel items from above — great for mob farm drops
- Wool blocks on the frame reduce lag in large sorters by breaking unintended redstone connections
- Name the filler items something descriptive like "FILLER" so you remember not to use them for anything
FAQ
Q: How many items can the sorter handle at once? A: Hoppers process 2.5 items per second (one item every 8 game ticks). For high-throughput farms, add parallel sorting lines or use two hoppers per channel feeding the same chest.
Q: Can I sort unstackable items like tools? A: Unstackable items (swords, pickaxes, armor) are very difficult to sort with this hopper method because the stack-size logic does not apply. Consider using item frames and manual placement for equipment storage.
Q: Does this work on Bedrock Edition? A: Yes, the hopper and comparator mechanics are identical on Bedrock. Bedrock players sometimes need to add an extra tick of delay on repeaters due to slight timing differences.
Conclusion
An automatic item sorter takes 30-60 minutes to build correctly, but it pays off immediately once your base is producing large quantities of resources from farms. Start with 5-8 channels covering your most common drops — iron, diamonds, wood types, stone, and food — and expand from there.
Once your sorter is in place, pair it with an iron farm and a mob farm to have a fully automated resource-gathering system running in the background while you build.