
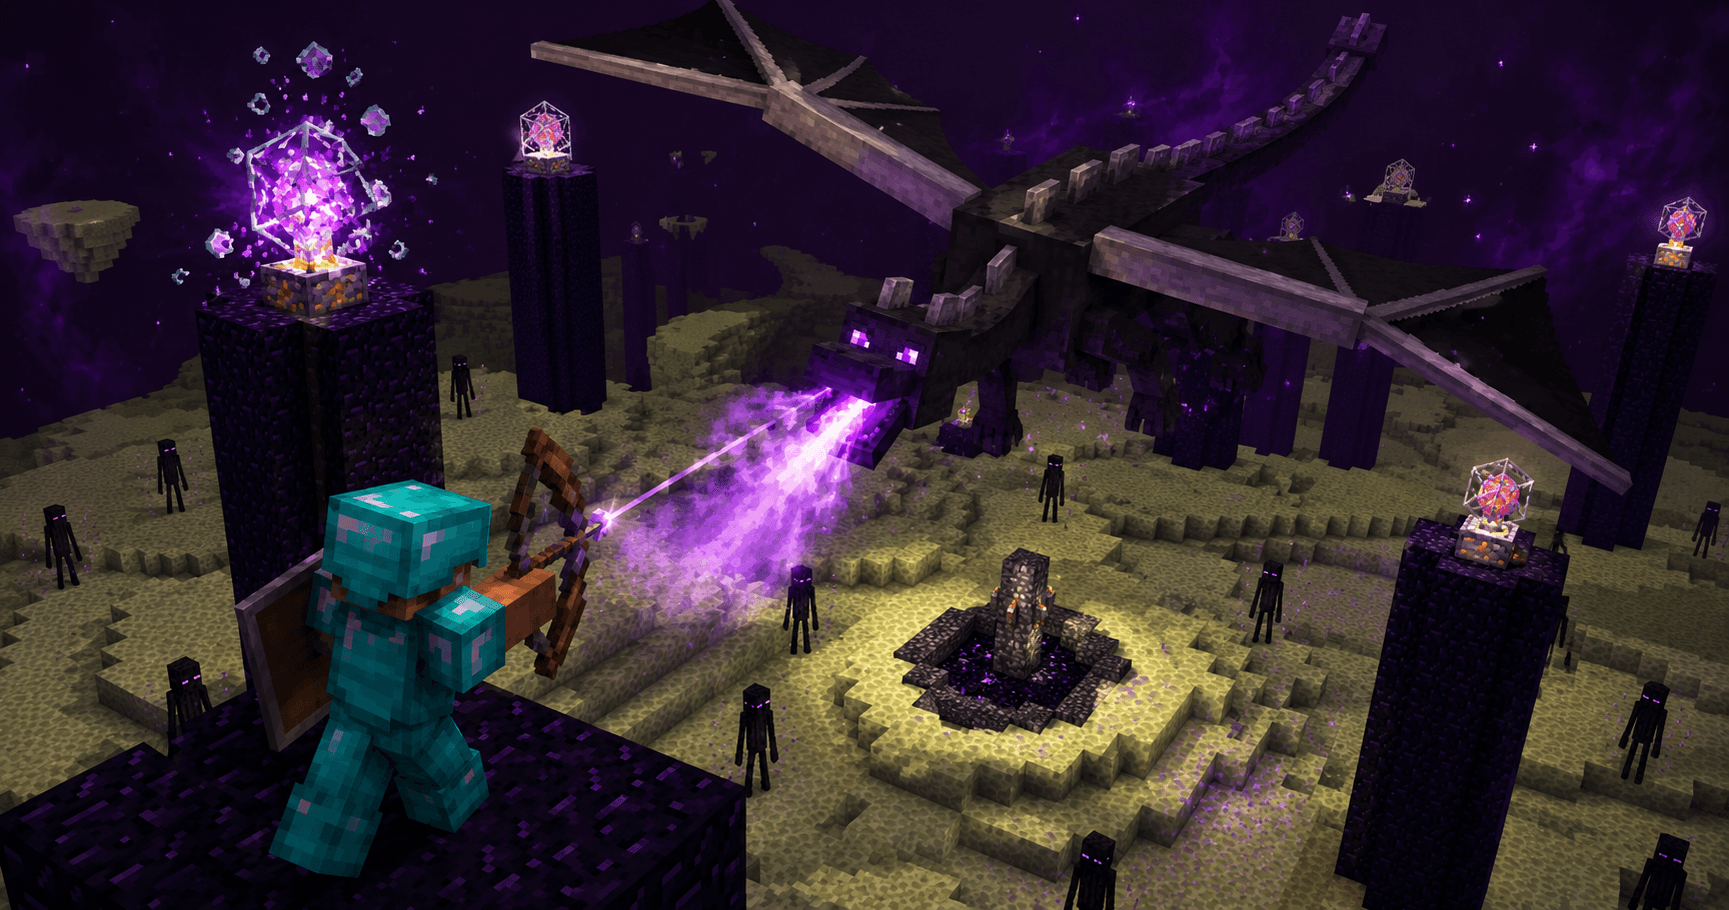

Most players' first Ender Dragon fight ends with them dead and their armor scattered across the End. They respawn, collect it, try again, and die the same way. Then they give up.
The fight isn't random. It's not luck-based. It's a puzzle with a specific solution. Once you understand the pattern, defeating the dragon becomes routine instead of terrifying.
The secret isn't gear—you can fight the dragon in iron armor if you execute correctly. The secret is understanding what the dragon actually does and countering each move.
What the Ender Dragon Does (The Pattern)
The Ender Dragon has three attacks:
Attack 1: Charging at you The dragon flies at you in a straight line. If it hits you, it deals 10 damage (5 hearts) plus knockback. The knockback is deadlier than the damage—it knocks you off ledges and into traps.
Attack 2: Landing and breathing fire The dragon lands on the ground or a pillar. While landed, it deals damage to nearby players (5 damage per second). You can't be close when this happens.
Attack 3: Healing The dragon heals itself by flying near the healing crystals on top of the obsidian pillars. Each crystal heals the dragon ~10 hearts per second while the dragon is nearby.
That's it. Three attacks. No surprises. No randomness. If you counter each one, you win.
Gear Setup (Minimum Viable)
You don't need perfect gear. You need practical gear.
Armor: Iron or better (diamond is safer). Protection III+ on chest/legs reduces charging damage to survivable levels.
Sword: Iron minimum. Sharpness III+ helps kill the dragon faster. Diamond sword is ideal (less durability loss).
Bow: Critical. You cannot win without a bow. 32+ arrows minimum (more is better). Use Power III+ arrows for faster kill.
Blocks: 64 blocks (any type). These are for building escape routes and pillars to reach high areas.
Food: 32-64 cooked meat/steak. You'll need constant healing.
Healing potions: 8-16 healing potions (instant health) minimum. These are your emergency button.
Bed or Respawn Anchor: To set your spawn point inside the End. If you die, you respawn near the arena instead of outside.
Pickaxe: Iron minimum. You'll need to break obsidian pillars to destroy healing crystals. Wooden pickaxes don't work on obsidian.
Optional but useful:
- Ender pearls (4-8) for escaping high areas
- Blocks with low blast resistance (dirt, sand) for quick building
- Shield (to reduce knockback from charges)
The Three-Phase Strategy
Phase 1: Destroy the Healing Crystals (25% Dragon HP)
The healing crystals are on top of the obsidian pillars. You must destroy them or the dragon heals infinitely.
How to destroy them:
- Build a pillar up to each crystal level
- Use your pickaxe to break the crystal blocks around the crystal
- Shoot the exposed crystal with arrows (3-5 arrows per crystal depending on bow power)
- Watch the crystal explode and deal damage to nearby dragons if it lands close
Why this matters: Each destroyed crystal prevents ~500 healing. Destroy all 10 crystals and the dragon goes from unkillable to mortal.
Safety: While building toward crystals, the dragon will charge at you. Build defensively—use blocks with low blast resistance so the dragon's charge breaks through without sending you flying. Dirt works better than obsidian here.
Time investment: 10-15 minutes to destroy all crystals. This is the longest part of the fight.
Phase 2: Kite and Damage (50% Dragon HP)
Once crystals are gone, the dragon can't heal. Now you just need to survive its charges and damage it.
Strategy:
- Watch for the dragon's charging pattern
- When it charges, move perpendicular (sideways) to dodge it
- Never run directly away—it'll catch you
- Never stand still—it'll hit you
- Strafe in a circle and keep distance
Bow usage:
- Shoot the dragon's head when possible (critical hits)
- Lead your shots—the dragon is moving fast
- Use Power III+ arrows (deal 2x damage compared to normal arrows)
- Expect to use 20-40 arrows total
Health management:
- Eat food constantly (stay above 15 hearts at all times)
- Use healing potions only when dropping below 5 hearts
- Don't waste potions on full health—your food will catch up
Time investment: 20-30 minutes. The dragon has 200 HP. You're dealing ~5 damage per hit. Math says it takes ~40-50 hits to kill it.
Phase 3: Final Push and Finish (Remaining HP)
As the dragon reaches low health (below 20 HP), it gets more aggressive. It charges faster and more frequently.
What changes:
- Dragon doesn't heal anymore
- Dragon moves more erratically
- One mistake means death (you're close to finishing)
How to finish:
- Stay in open ground (no pillars to crash into)
- Kite the dragon in circles
- Keep shooting—every hit counts now
- Use healing potions liberally (you're in the danger zone)
- When the dragon is nearly dead, be ready to move fast
The final hit: Once the dragon drops to 1 HP, one more hit kills it. The explosion is dramatic but doesn't hurt you (despite the visual effects).
Common Mistakes That Kill You
Mistake 1: Not destroying crystals. You damage the dragon. Dragon heals faster than you damage it. You run out of arrows and food. Dragon wins.
Mistake 2: Standing still during charges. Dragon charges. You get hit. Knockback sends you falling. You die before landing. Your gear is gone.
Mistake 3: Getting too close to the dragon. When the dragon lands, it deals 5 damage per second. Being nearby = death. Move 15+ blocks away when the dragon lands.
Mistake 4: Fighting near the central fountain. The fountain heals you but it's in the open. Dragon charges at you. You die. Build your pillar away from the fountain.
Mistake 5: Running out of food/healing. You fight for 30 minutes. Your food runs low. You take 3 damage. It's not enough to kill you but it's enough to make you nervous. One mistake later, you're dead. Bring 2x the healing you think you need.
Mistake 6: Using bad arrows. Regular arrows deal 4 damage. Power III arrows deal 8+ damage. 50 regular arrows = probably dying. 30 Power III arrows = plenty to win.
Mistake 7: Building pillars too close to the dragon. Dragon smashes your pillar mid-build. You fall. You die. Space your pillars 10+ blocks apart.
Loadout Checklist (Before Entering The End)
- ✅ Armor (iron minimum)
- ✅ Sword (iron minimum)
- ✅ Bow (critical)
- ✅ 32+ Power III arrows
- ✅ 64 blocks (any type except obsidian)
- ✅ Pickaxe (iron for obsidian)
- ✅ 64 cooked meat/steak
- ✅ 12-16 healing potions
- ✅ 4-8 ender pearls (optional but safe)
- ✅ Bed or Respawn Anchor
Missing any of these = increased chance of failure.
After You Win: What You Get
Dragon drops:
- 70 XP (useful for enchanting)
- Dragon egg (one per world, purely decorative)
- 3600 XP from the defeated dragon (if you were nearby)
Achievement: "The End... Again?" pops up on your screen.
What's unlocked: Credits roll. You can now access the End without fear. Respawn your bed in the End for permanent access to End resources.
FAQ
Q: Can I fight the dragon without a bow? A: Technically yes. Practically no. Without a bow, you can't destroy the crystals. The dragon heals infinitely. You lose.
Q: How many attempts should I expect before winning? A: First-timers: 2-5 attempts average. You learn the pattern, die once, succeed the second time. Speedrunners: 1 attempt with perfect execution.
Q: Is Netherite armor required? A: No. Diamond survives the fight. Netherite is overkill. Iron works if you're skilled.
Q: What if I fall into the void? A: You die. There's no floor in the End—falling is instant death. The dragon doesn't push you into the void, but you can accidentally jump into it. Be careful on edges.
Q: Can I fight multiple dragons? A: One dragon per world in vanilla. Other players can fight it simultaneously on multiplayer servers, but there's only one dragon to defeat per world.
Q: Should I fight with friends or solo? A: Either works. Multiplayer is easier (multiple players to distract the dragon and heal each other). Solo teaches you the mechanics faster.
Final Thoughts
Your first Ender Dragon fight will be chaotic and probably end in death. That's normal. You're learning a new fight with new patterns.
The second attempt is better. You know what to expect. You react faster.
By the third attempt, you're not panicking—you're executing. By the fourth, you're winning.
The dragon isn't unbeatable. It's just different. Once you understand the three attacks and counter each one, it becomes a routine puzzle instead of a panic fight.
Prepare your gear, destroy the crystals, kite the dragon, and finish it. That's the formula. Everything else is execution.
Go kill the dragon.